
Agarose gel percentage is the first choice in any DNA gel. It sets the pore size, and so the range of fragment sizes that separate into clear bands [1][2]: lower percentages for large fragments, higher for small ones. This guide gives a starting table of agarose gel concentration for DNA size, then covers DNA ladders, buffers, casting, tray size, running and troubleshooting. For where the gel sits in the wider bench workflow, see From Extraction to Gel Viewing: A Molecular Biology Bench Workflow with PCR, qPCR and Electrophoresis.
Quick answer:
- Match the percentage to the size: one manufacturer's table gives 0.8–10 kb for a 0.8% gel, 0.4–8 kb for 1.0% and 0.2–3 kb for 1.5%; other guides differ slightly [3–5].
- Know the limits: fragments below about 100 bp and closely spaced small DNA fragments may be better resolved by polyacrylamide; very large DNA may require pulsed-field methods [1][6][7].
- Size against a DNA ladder in the same gel, with bands that bracket your fragment and the same loading dye as the samples [1][3].
- Use one buffer for gel and tank: TBE for sharper small fragments, TAE for larger ones [1][4][6].
- Uncut plasmid needs a linearised control: its supercoiled, linear and open-circular forms run at different positions [1][6].
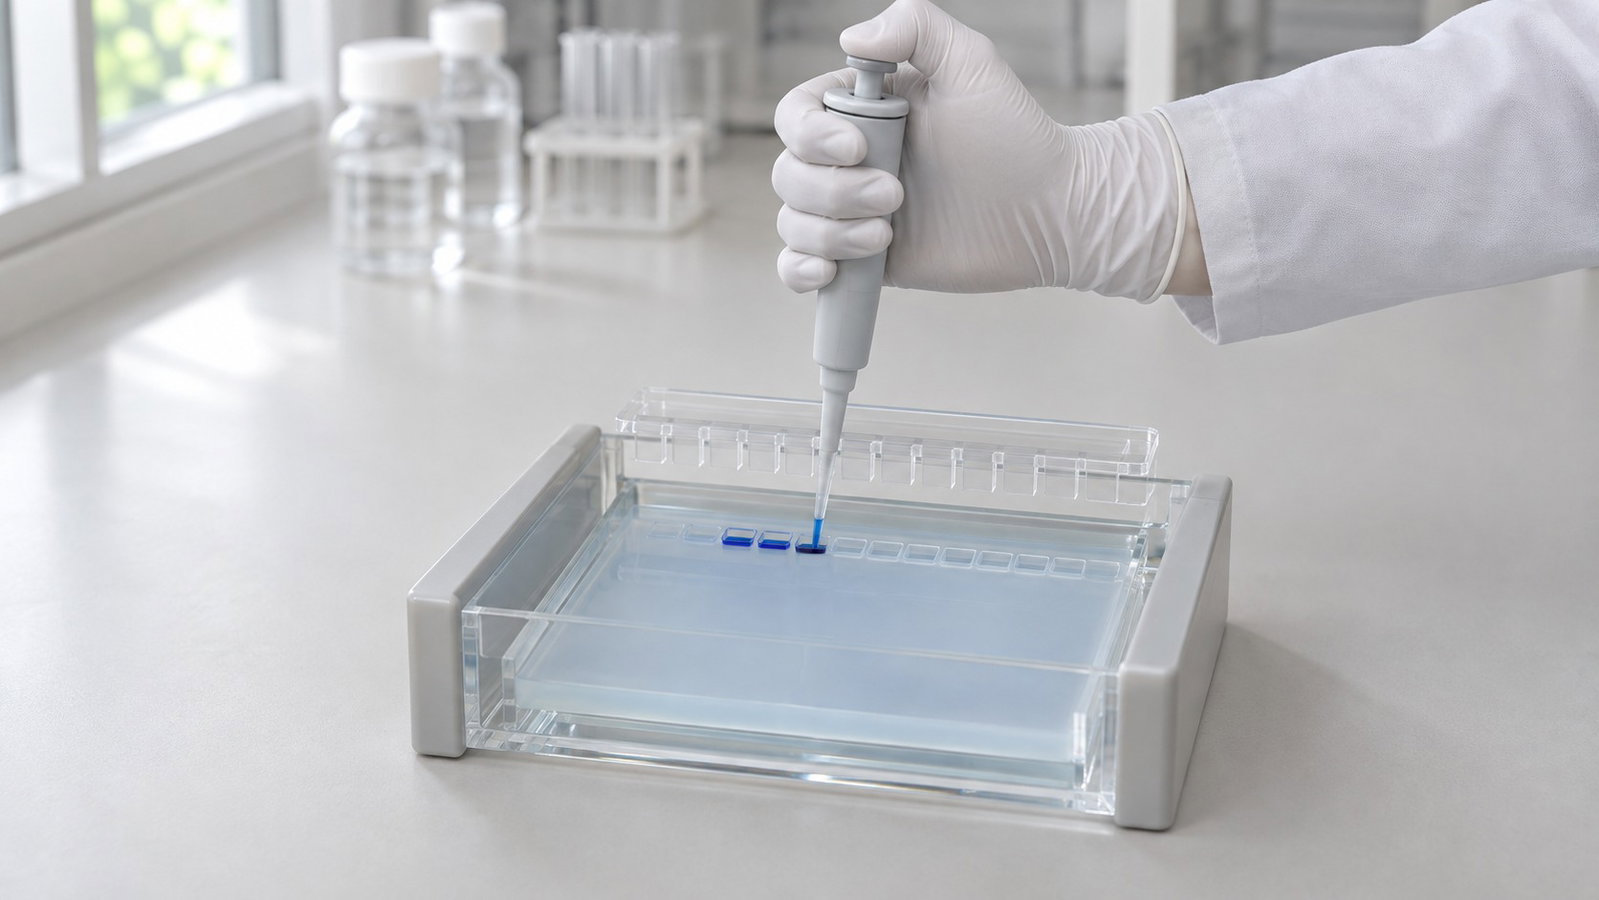
1. Why Gel Percentage Sets Resolution
Agarose forms a mesh of fibre bundles that acts as a molecular sieve: increasing the agarose concentration generally decreases the effective pore size [1][8]. The median pore radius of a 1% gel has been estimated at about 100 nm, although the figure depends on the method [8].
DNA has a near-uniform charge-to-mass ratio, so all fragments move towards the positive electrode and the gel sorts them by size; distance travelled falls roughly with the logarithm of size [1]. Published working ranges vary: about 100 bp to 25 kb [1], 0.5–25 kb [2] or about 75 bp to 30 kb [6].
Small, closely spaced fragments resolve better in polyacrylamide, with its smaller, more stable pores [1][6]. For very large DNA fragments, conventional agarose electrophoresis may become less suitable, and pulsed-field gel electrophoresis can be more appropriate [1]. Pulsed-field methods have separated DNA up to 2,000 kb [7].
2. Agarose Gel Concentration for DNA Size
Table 1 reproduces one manufacturer's starting ranges for DNA fragments in agarose gels prepared with TAE or TBE [3]. Use these ranges as a practical reference for linear double-stranded DNA, not as universal resolution limits.
| Agarose (% w/v) | Effective separation range | Bromophenol blue runs near, TAE | Bromophenol blue runs near, TBE |
|---|---|---|---|
| 0.5 | 2–50 kb | 1,150 bp | 750 bp |
| 0.7 | 0.8–12 kb | 660 bp | 410 bp |
| 0.8 | 0.8–10 kb | 530 bp | 320 bp |
| 1.0 | 0.4–8 kb | 370 bp | 220 bp |
| 1.2 | 0.3–7 kb | 275 bp | 160 bp |
| 1.5 | 0.2–3 kb | 190 bp | 110 bp |
| 2.0 | 0.1–2 kb | 120 bp | 65 bp |
| 3.0 | 25–1,000 bp | 60 bp | 30 bp |
Table 1. Starting separation ranges and approximate tracking-dye positions [3].
- Aim to place your target fragment comfortably within the working range rather than near an endpoint. In this table, a 500 bp product is near the lower end of the 1.0% range but falls more centrally within the 1.2% and 1.5% ranges.
- Expect sources to differ: two other guides give 0.5–10 kb for 1.0% [4][5]. Agarose type, buffer, field strength and run length all matter.
- Dye positions are approximate, because the dye front is a broad band [3].
Calculated illustration, not a specification. Inputs: hypothetical volumes of 50 mL and 100 mL of agarose solution. Since 1% (w/v) is 1 g per 100 mL, a 0.8% gel needs 0.4 g in 50 mL or 0.8 g in 100 mL; a 1.0% gel 0.5 g or 1.0 g; a 2.0% gel 1.0 g or 2.0 g.
Dissolve the agarose in running buffer, and make up any water lost on heating so the percentage stays correct [4].
3. Choosing a DNA Ladder
A DNA ladder is a mix of fragments of known size run in a neighbouring lane. Plot the logarithm of the ladder sizes against distance travelled and read the unknown band off that curve [1]; sizing against known fragments on agarose dates back to at least 1974 [9].
- Bracket the target with several ladder bands above and below the expected size.
- Treat ladder and samples alike: same loading dye and, where possible, equal volumes; high salt can shift sample bands [3][4].
- Standard ladders are linear DNA. Supercoiled plasmid runs ahead of linear DNA of the same size and open-circular plasmid behind it [1], and the order can change with the buffer [6], so a linear ladder does not size an uncut plasmid.
- Ethidium bromide incorporated into the gel can reduce the migration of linear DNA fragments by about 15% [1][4]. Run the ladder and samples under the same staining conditions.
4. TAE or TBE Buffer
Cast the gel in the buffer that fills the tank, from the same batch where possible, because small differences in ionic strength affect migration [1][4].
| Buffer | Composition (1×) | Practical notes |
|---|---|---|
| TAE | 40 mM Tris, 20 mM acetic acid, 1 mM EDTA | Suits larger fragments; lower buffering capacity, exhausted sooner in long runs [4][6] |
| TBE | 89 mM Tris, 89 mM boric acid, 2 mM EDTA (often used at 0.5× [1][4]) | Often provides sharper separation of smaller fragments; borate can complicate some downstream DNA-recovery procedures [4][6] |
Table 2. TAE and TBE running buffers (compositions from [6]).
5. Casting the Gel and Choosing a Comb
- Heat the agarose in running buffer, in a flask no more than half full, until dissolved.
- Cool to about 55–60 °C and pour onto a level tray, 3–5 mm deep.
- Set the comb so its teeth stop short of the tray, leaving a floor under each well.
- After 30–40 min, remove the comb and cover the gel with about 1 mm of buffer.
Thinner gels and less buffer over the gel carry less current, which limits heating [6].
Comb thickness, tooth width and insertion depth determine the dimensions of each well and therefore its approximate capacity. Avoid overfilling wells, which can cause samples to spill into neighbouring lanes [4].
The DL-SUB01 casts gels with a dedicated telescopic gel caster. For the DL-SUB02, two types of gel makers are optional. The DL-SUB03 has a level-adjustment knob for levelling the tank.
6. Matching Tray Size to Your Samples
Lane count depends on the comb chosen and on how you place ladders and controls.
| Model | Type | Gel size (W×L) | Buffer volume | Combs in the standard configuration | Other features |
|---|---|---|---|---|---|
| DL-SUB01 | Horizontal electrophoresis tank | 60×75 mm | 300 mL | 1.0 mm 6-well (2); 1.0 mm 11-well (2); 1.5 mm 6-well (2) | Dedicated telescopic gel caster; detachable 99.99% platinum electrodes; polarity limit |
| DL-SUB02 | Multi-functional horizontal electrophoresis tank | 120×120, 120×60, 60×120 and 60×60 mm | 700 mL | — | Five trays in four sizes; fluorescent ruler on the tray bottom; detachable 99.99% platinum electrodes; polarity limit |
| DL-SUB03 | Multi-functional horizontal electrophoresis tank | 130×200 and 130×150 mm | 800 mL | 1.0 mm: 14, 18 and 26 wells; 1.5 mm: 18 wells (2 of each) | Background strip at the bottom of the tray for loading; level-adjustment knob; 99.99% platinum electrode |
Table 3. ALab horizontal electrophoresis tanks.
— = not specified.
- All three tanks have polycarbonate bodies.
- DL-SUB02 comb sets are confirmed at quotation; please confirm the supplied comb set when requesting a quote.
For larger gels, see the ALab™ DL-SUB02 Multi-functional Horizontal Electrophoresis Tank, with four gel sizes up to 120×120 mm, and the ALab™ DL-SUB03 Multi-functional Horizontal Electrophoresis Tank, with 130×200 mm and 130×150 mm gels.
For a 60×75 mm gel (W×L), 300 mL of buffer, 1.0 mm 6-well and 11-well combs and a 1.5 mm 6-well comb, see the ALab™ DL-SUB01 Horizontal Electrophoresis Tank to view the product or request a quote.
7. Running the Gel
Place the wells at the negative electrode so DNA runs towards the positive one [1][4]. Loading dye makes samples sink into the wells and lets you follow the run [1][4]; stop when the dye has travelled far enough for your sizes (Table 1).
Field strength is volts per centimetre of the distance between the electrodes, not the gel length. Guidance varies, from 1–5 V/cm [1] to 1–10 V/cm [4], with lower fields for larger fragments [3]. Higher fields shorten the run but heat the buffer; in Tris buffers, heat raises conductivity and current in a loop that limits the usable field [10], and very high voltages smear large fragments [4].
Calculated illustration, not a specification. Inputs: hypothetical electrode-to-electrode distances of 20 cm and 25 cm. At 5 V/cm, a 20 cm distance needs 100 V and a 25 cm distance 125 V; at 1 V/cm, 20 V and 25 V. Measure your own tank. Constant voltage, current or power, and Joule heating, are covered in Electrophoresis Power Supply Settings: Constant Voltage, Current or Power and Joule Heating.
For a power supply, the ALab™ DEP-300/DEP-600/DEP-300HC Electrophoresis Power Supplies offer constant voltage, constant current and constant power output, continuously adjustable, with automatic mode switching and a timer of 1 min to 99 h 59 min. The DEP-300 lists 0–300 V, 0–600 mA and 0–150 W. The DEP-600 lists 0–600 V, 0–600 mA and 0–360 W. The DEP-300HC lists 0–300 V, 0–3,000 mA and 0–400 W.
8. Viewing the Gel
Stained DNA is viewed on a transilluminator; blue-light and UV viewing are compared in Blue-Light vs UV Transilluminators for Modern DNA Stains.
9. Troubleshooting
| What you see | Likely cause | What to try |
|---|---|---|
| Bands bunched together | Wrong gel percentage for the sizes | Choose a percentage that puts them mid-range (Table 1) [3] |
| Smeared lanes | Too much DNA; voltage too high | Load less; lower the field strength [4] |
| "Smiling", broad or slanted bands | Uneven heating | Lower the field; thinner gel, less buffer over it [6] |
| Bands shifted against the ladder | Salt; different loading dye | Match the dye; clean up salty samples [3][4] |
| Several bands from one plasmid | Different plasmid forms | Compare with a linearised control [1] |
| Gel melts during the run | Wrong or exhausted buffer | Remake the buffer; recirculate it in long runs [4] |
Table 4. Common agarose gel problems.
10. Frequently Asked Questions
What agarose gel percentage should I use for a 500 bp PCR product?
A 1.2–1.5% gel puts 500 bp comfortably inside the range in Table 1; a 1.0% gel also works, with the band near its lower edge [3].
Can agarose separate fragments that differ by a few base pairs?
Not reliably in routine agarose gels. Polyacrylamide, with its smaller and more stable pores, provides finer molecular sieving and may be more appropriate for closely spaced small fragments [1][6].
Why does my uncut plasmid give more than one band?
Supercoiled, linear and open-circular forms of the same plasmid migrate at different rates [1]. For size estimation, digest a separate aliquot with a restriction enzyme that cuts the plasmid once, producing a linear DNA molecule that can be compared with a linear ladder.
Should I use TAE or TBE?
TBE for sharper small fragments, below about 1 kb; TAE for larger fragments and when you plan to recover DNA from the gel [4][6].
What voltage should I run?
Set it from the field strength and your tank's electrode distance (§7). Settings are covered in Electrophoresis Power Supply Settings: Constant Voltage, Current or Power and Joule Heating.
11. Related Guides
- From Extraction to Gel Viewing: A Molecular Biology Bench Workflow with PCR, qPCR and Electrophoresis
- Electrophoresis Power Supply Settings: Constant Voltage, Current or Power and Joule Heating
- Blue-Light vs UV Transilluminators for Modern DNA Stains
- Gradient PCR: Finding the Optimal Annealing Temperature