
A small compounded batch has to become a few standard specimens, and the way it gets into the mold decides how much of it is lost and how much of its history you can prove afterwards. This guide compares the transfer and the injection route for a small batch of compound, reports what two Polytevo Series by ACS Material pages list for each, and sets out the handoff record that should travel from the compounder to the specimen.
1. The short answer: the quantity per run and the record decide
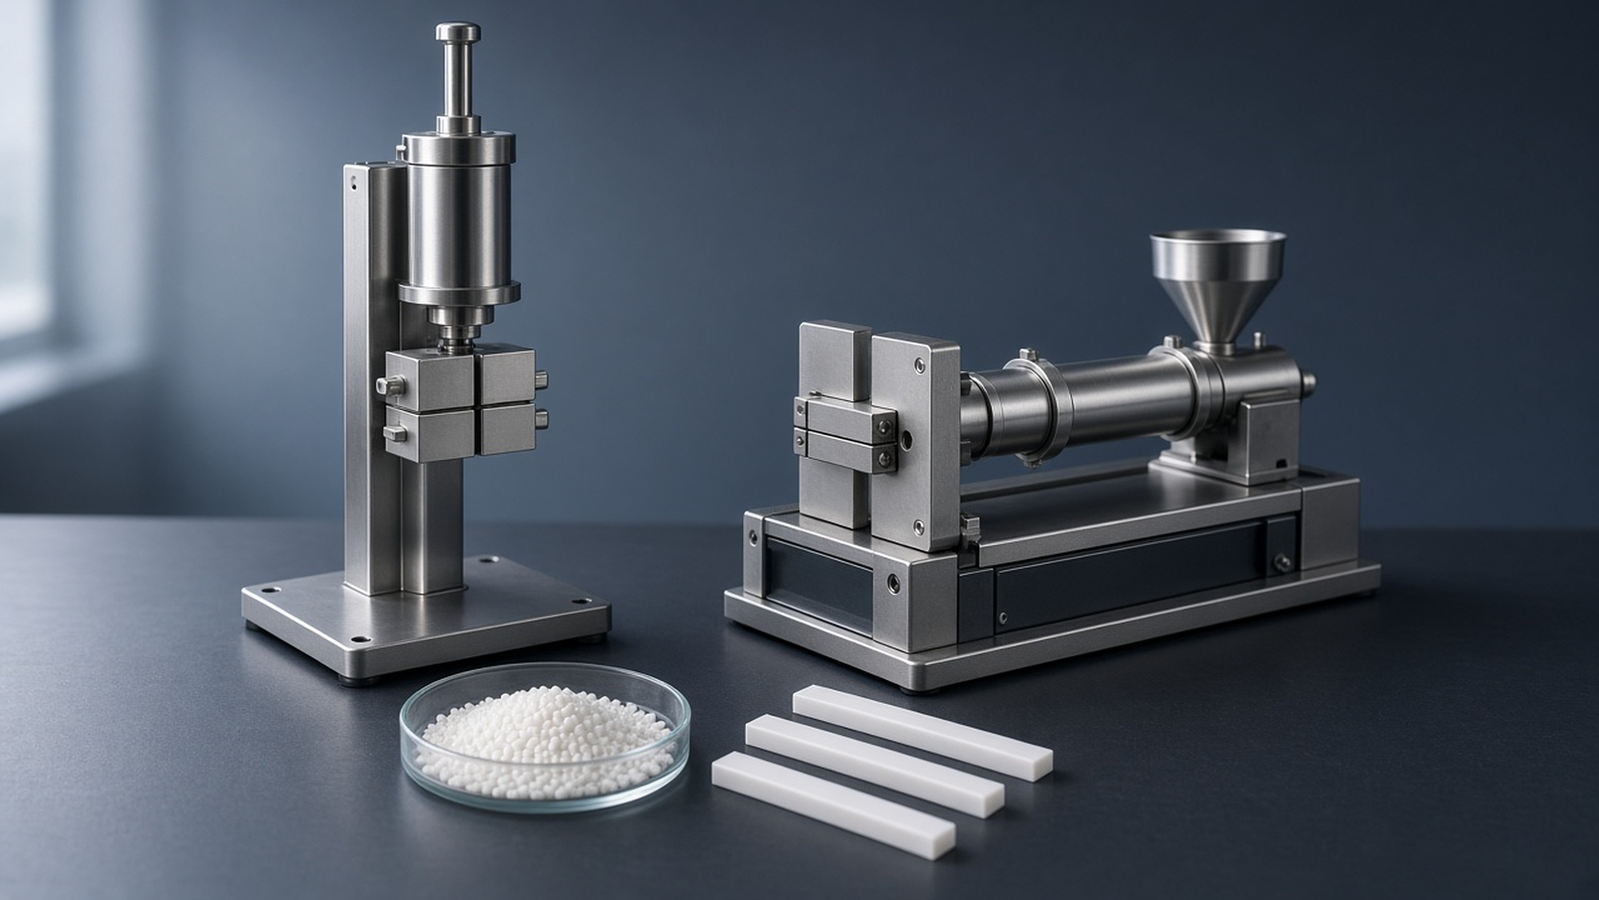
For a small compounded batch, neither route wins in general. The Polytevo Series Vertical Transfer Molding Machine page describes a pneumatic transfer machine with a charge of about 20 g per shot, and the Polytevo Series Precision Injection Molding Machine page describes a pneumatic and a hydraulic injection machine with a 20 mm screw. The pages list their figures in different units, so the useful comparison is not a figure against a figure but a question: what quantity of your compound each run uses, how much of it stays in the runner or the screw, and how well you can write down what happened.
This guide does not rank the routes. It cites no study that compares transfer and injection molding for laboratory specimens, so the comparison rests on what each route requires and what the pages list. Section 2 says how each route works, section 3 sets out what a small batch changes, section 4 reports what the pages list, section 5 gives the handoff record, and section 6 turns the comparison into a decision table and questions for the quotation. The cluster entry point, Molding Plastic Test Specimens: Injection, Transfer, Compression, places both routes beside compression molding.
2. How the two routes work
The transfer page describes the sequence in these words: the compound is softened in the heated barrel, the pneumatic cylinder drives the piston down and forces it through the runner into the preheated mold cavity, and the mold is opened after holding pressure and cooling and the specimen removed. It says that the barrel temperature and the mold temperature are set independently, and that the mold must be preheated to its set temperature before transfer.
The injection page describes a 20 mm single-screw structure and replaceable molds. For the hydraulic model, it lists adjustable injection pressure, back pressure, injection sections, ejection force and 12 formula record groups.
Test methods for injection molding of thermoplastic specimens describe the steps and the way to report them in a uniform manner, and the ASTM practice assumes a reciprocating screw machine.1,2 That assumption matters for a small batch. Check the actual plasticizing and injection arrangement against the applicable preparation practice; terminology alone does not establish suitability. The question belongs on the quotation. No comparable test method reference for transfer molding of laboratory specimens is cited here, and the book chapter on transfer molding that is listed in the references concerns thermosets, a different field.3
3. What a small batch changes
A small batch changes three things: how much of the compound each run consumes beyond the specimens themselves, how much history the compound already carries, and how much of that history the record shows. The first is arithmetic, and the other two are matters of evidence.
Illustration, not a recommendation. If an experiment assumes an input charge of exactly 20 g for each run, 100 g funds five nominal charges before separate startup or other material allowances. This assumed charge is not a measured requirement or guaranteed run count for either machine. Record actual charged, recovered, retained and discarded masses. The transfer page separately lists approximately 20 g per shot, depending on the compound and specimen. The injection page lists shot volume and hopper capacity, which this guide does not convert into material mass.
The history that a compound carries is real. In a study of small-scale melt mixing of carbon nanotubes in polyamides, the mixing temperature, rotation speed and mixing time changed the dispersion of the nanotubes and the electrical resistivity of the composite, and at one filler content the resistivity had a minimum at a low mixing energy input and rose with more.4 That is one filler system on one small mixer, but it makes a general point for specimen work: the settings of the step before molding belong in the specimen record.
Moisture is a second history. In injection-molded polyamide 6, relative humidity had a strong influence on the yield stress and the time-to-failure,5 and polylactide extruded up to five times lost up to 30 percent of its molecular weight when it was not dried, with hydrolysis given as the cause of the acidity increase.6 The PA6 study concerns conditioning and test humidity, whereas the PLA study concerns moisture during reprocessing. Record pre-processing drying when performed, and subsequent storage and conditioning; neither study supplies a transfer-molding preparation procedure.
The molding step leaves its own mark. Injection-molded polypropylene bars changed their skin, intermediate and core layers with melt temperature and injection pressure,7 uneven mold-surface temperatures changed the morphology and the distribution of modulus through the thickness,8 and a micromolded high-density polyethylene part had a different crystalline morphology from a larger part.9 None of these was molded by transfer, so whether a transfer-molded bar and an injection-molded bar of the same compound differ is a question to answer by testing, not by assumption.
4. What the two pages list, side by side
This section reports what the pages say on 15 November 2026, and no literature appears in it. Each cell keeps the page’s label and unit. The charge per shot of the transfer machine and the shot volume of the injection machines are different quantities, so they are listed and not compared; the air-supply pressures of the two pages are likewise printed as each page prints them. Specifications are as published on each page and final configurations are confirmed on quotation.
| Page label | Vertical transfer molding machine (ACS-7003YZ) | Precision injection molding machines (ACS-7003 / ACS-7003H) |
|---|---|---|
| Drive | Pneumatic | Pneumatic (ACS-7003); servo hydraulic system (ACS-7003H) |
| Temperature | Barrel up to 300°C and mold up to 150°C, each set independently | Zones 1/2/3: up to 360°C |
| Material per run | Charge per shot ≈20 g (depends on compound and specimen) | Shot / injection volume 25 cm³ (ACS-7003); 0–28 cm³ (ACS-7003H) |
| Mold | Split transfer mold with replaceable cavity inserts; flexural / impact bar, dog-bone tensile bar and color plaque molds | Integrated mold or fast changing mold; the mold is optional (specimen mold or customized) |
| Specimens | Dog-bone (tensile), flexural, impact and color plaque | Stretch, impact, light transmittance, electric breakdown, shrinkage, fluidity, thermal deformation and color plate |
| Power | AC 220 V ±10%, 50 Hz (reliable grounding required) | Single phase 220 V ±10%, 50 Hz (ACS-7003); AC 380 V ±10% (ACS-7003H) |
Figures are copied from the pages and keep each page’s labels. The table is not a ranking, and the rows are not like-for-like quantities.
The transfer page names internal mixers, two-roll mills and twin-screw extruders as companion equipment.
The injection page lists hopper capacities of 0.2 L for ACS-7003 and 3 L for ACS-7003H.
Two further lines are worth reading beside the table. The transfer page says that material compounded by an internal mixer or two-roll mill can be transfer molded directly into standard specimens, and the transfer page lists a stable, clean air supply at the rated pressure of 0.6 MPa and AC 220 V power with reliable grounding as what the user must prepare. The injection page lists an air source of at least 0.8 MPa and a compressor of at least 60 L for the ACS-7003, and hydraulic oil and AC 380 V power for the ACS-7003H.
5. The batch handoff record
The handoff is where a small batch loses its story. A compounded batch arrives with a bag and a name; the specimen leaves with a number. The record between them is what lets a later reader tell a material effect from a handling effect. A practical list, drawn from the studies in section 3, is below. It is a guide to what is worth writing down, not a published checklist, and it applies to both routes.
- Compound identity. Material, grade, lot, additive or filler content, and the batch number given at compounding.
- Compounding step. The machine used, its temperature, speed and time or throughput settings, and the date. When the compound was made on an extruder, the choice of machine is the subject of Single-Screw vs Twin-Screw Extruders: Which One for a Lab?
- Mass in and mass out. The mass handed over, the mass charged per run, the mass of runner or purge discarded, and the mass left over.
- Moisture history. Any drying procedure, the interval and storage conditions before molding, and subsequent specimen storage or conditioning.
- Route and machine. Transfer or injection, the model, the mold and the cavity or insert used.
- Cycle as run. For transfer: barrel and mold temperatures, the preheat of the mold, the holding pressure and time and the cooling. For injection: barrel zone temperatures, mold temperature, injection speed, holding, cooling and the number of discarded shots.
- Order of molding. Which specimen came from which run and in which order, so that a drift in the results can be traced to a run.
- Intended test. The test and the test method reference each specimen set is for.
The same list, written as fields for the injection route, is in Pneumatic vs Hydraulic Lab Injection Molding Machines, and the compression route has its own record plan, reached from the cluster entry point, Molding Plastic Test Specimens: Injection, Transfer, Compression.
6. Choosing, and what to ask on the quotation
| If this is true | Evaluate | Because |
|---|---|---|
| The batch is only a few tens of grams | Both routes using a material budget. | Confirm setup, startup, cycle, retained-material and specimen requirements for the proposed configuration; the published approximate charge alone does not determine suitability. |
| You need many specimens of one geometry from a larger batch | Injection route | A fixed mold can be filled repeatedly and the practices describe uniform reporting of the conditions |
| The compound comes straight from a mixer, mill or extruder and traceability matters most | Either route that is appropriate to the intended preparation method. | A complete record helps assess comparability, but route, material state and specimen preparation still matter. |
| The material is moisture-sensitive | Either route, subject to the material-specific preparation and conditioning requirements; record drying when performed. | The cited studies concern moisture during processing or testing in particular materials; they do not prescribe one drying procedure for every polymer. |
| You must follow a published injection practice | Injection route, and ask about the plasticizing arrangement | The ASTM practice assumes a reciprocating screw machine |
This table is guidance drawn from the sections above; it is not tied to a published rule, and it does not rank the routes.
Questions to settle on the quotation, whichever route you lean toward:
- Charge and loss. How much of the charge stays in the runner or the screw for the mold you will use, and how many first shots should be discarded.
- The mold. Which specimen mold and cavity insert, or mold type, the quotation includes, and whether the specimen geometry matches your test method.
- Settings you must record. Which cycle settings can be set and read on the model, and at what resolution.
- Feeding. How the compound is loaded, as a charge or from a hopper, and whether the form of your compound, pellets, crumb or sheet, fits.
- Utilities. The air supply, power and, for the hydraulic injection model, the hydraulic oil that each configuration needs.
7. FAQ
Is transfer molding better than injection molding for a small batch?
Neither is better in general. The transfer page lists a charge of about 20 g per shot that depends on the compound and the specimen, and the injection page lists shot volumes in cm³; the useful test is how much of your own compound each run uses and how well the cycle can be recorded. This guide cites no study that compares the two routes for laboratory specimens.
How much compound does a transfer molding shot use?
The Polytevo transfer page lists about 20 g per shot, depending on the compound and the specimen. Confirm the charge required for the quoted specimen and material, then record the actual charged and recovered quantities during the run.
Can compound from a mixer or an extruder go straight into the mold?
The transfer page says that material compounded by an internal mixer or two-roll mill can be transfer molded directly into standard specimens, and that the machine is used together with internal mixers, two-roll mills and twin-screw extruders.
Record the actual compounding and moisture history. The cited studies demonstrate effects in particular material systems; they do not validate a transfer-molding procedure or establish that every change in those histories changes the measured result.4,6
What should a handoff record contain?
At least the compound identity and batch number, the compounding settings, the mass handed over and the mass charged per run, the drying, the route, machine and mold, the cycle as run, the order of molding and the intended test. Section 5 lists the fields; it is guidance rather than a published checklist.
What must I prepare to run each machine?
The transfer page lists a stable, clean air supply at the rated pressure of 0.6 MPa and AC 220 V power with reliable grounding. The injection page lists an air source and single phase 220 V power for the ACS-7003, and hydraulic oil and AC 380 V power for the ACS-7003H. If a water cooling function is added to an injection machine, a water source is also required.
8. Keep exploring the Lab-Scale Polymer Processing Knowledge Hub
This guide belongs to the molding-specimens cluster of the Lab-Scale Polymer Processing and Testing: A Workflow Guide, which places every machine of the Polytevo Series by ACS Material in the stage of the lab route where it is used. The cluster starts at Molding Plastic Test Specimens: Injection, Transfer, Compression; related guides:
- Molding Plastic Test Specimens: Injection, Transfer, Compression. Entry guide to the cluster: a route map from compound to specimen, by what the specimen has to represent.
- Pneumatic vs Hydraulic Lab Injection Molding Machines. The pneumatic and hydraulic models on one product page, compared by the figures and units each lists.
- Single-Screw vs Twin-Screw Extruders: Which One for a Lab? The extruder choice that precedes a molded specimen when the compound is made on an extruder.
To discuss a configuration, describe the material and its form, the specimen types and the number of specimens you need, the utilities available in your laboratory, and the mold or plate size you plan to use, then send it through Request a Quote. Specifications are as published on each product page, and final configurations are confirmed on quotation.