
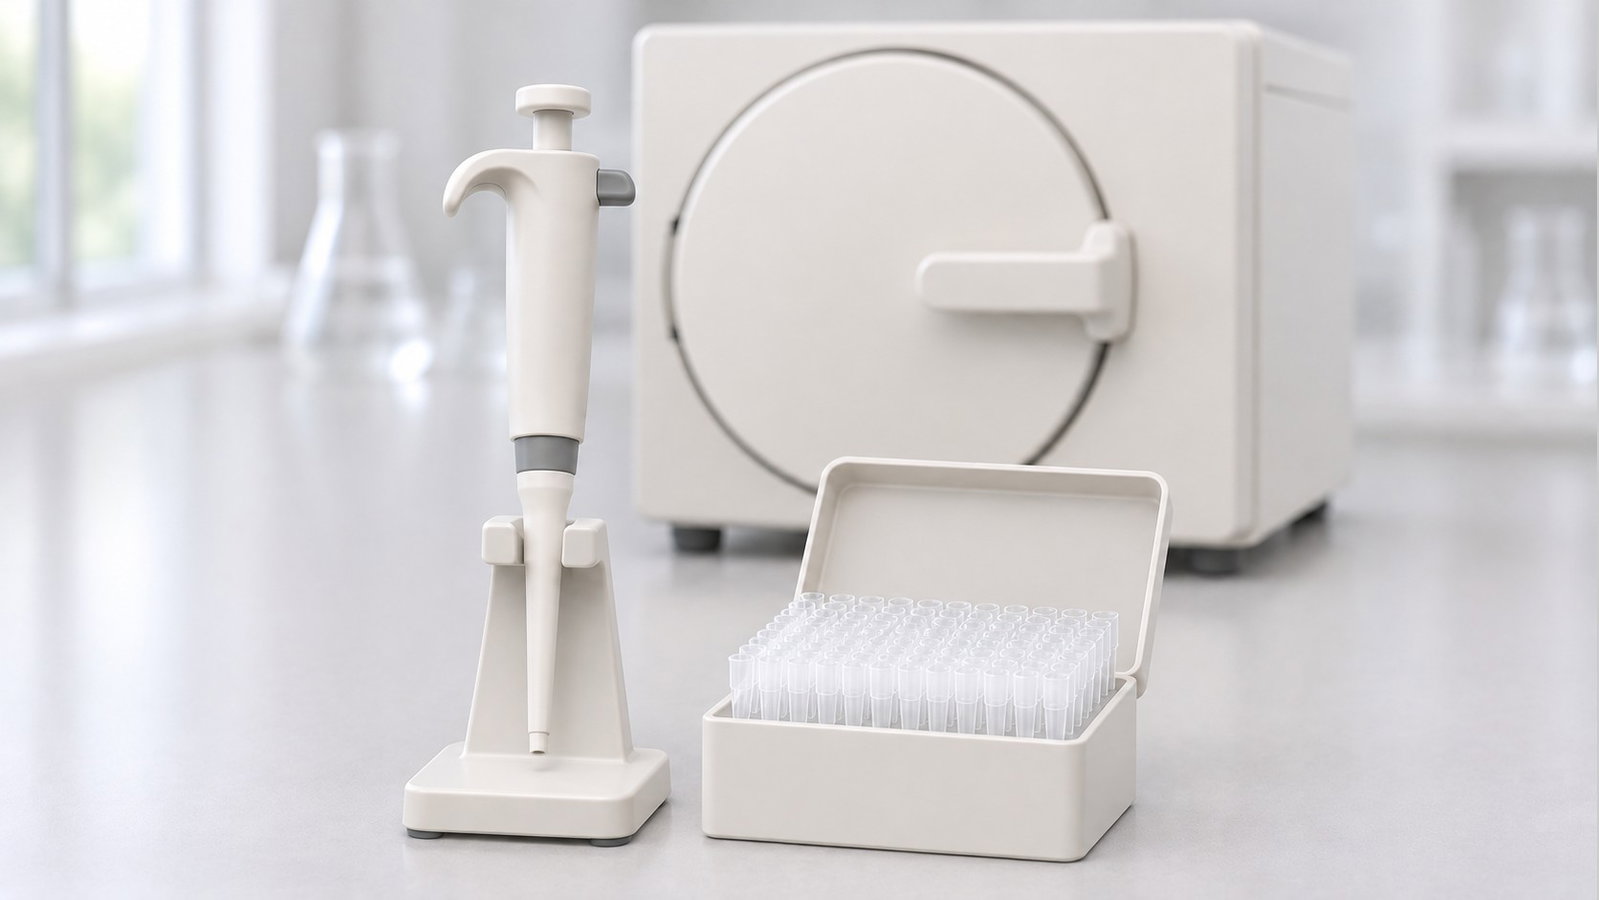
Before you autoclave pipette parts, or a whole pipette, check two things: what the manufacturer says can go into the chamber, and what the cycle can and cannot achieve. A validated steam cycle can sterilize compatible parts, but whether they remain sterile depends on handling and storage afterwards. Autoclaving alone is not a complete contamination-control plan. This guide separates the terms that get mixed up (cleaning, decontamination, disinfection, sterilization and "autoclavable"), explains the three directions contamination travels, sets out what tips and filter tips can and cannot do, and lists what ACS Material says about autoclaving each pipette. For the wider picture of pipettes, dispensers and controllers, see the pipetting and liquid handling guide.
Quick answer: Autoclavable, sterile and contamination-free are three different things. Autoclavable means the pipette, or a named part of it, is built to survive the cycle; manufacturers differ on whether that means the whole instrument or only the lower part [1][2]. Sterilization aims to eliminate microbial life [3], but autoclaving a component does not establish that the assembled pipette will remain sterile during subsequent handling or use. Day to day, important cross-contamination controls include fresh tips, filter tips where aerosols matter, smooth technique and regular cleaning [4][5]. Follow your pipette's manual for which parts may be autoclaved and at what settings [2].
1. Five Terms That Are Not the Same
Much of the confusion around autoclaving pipettes comes from using "sterilize", "disinfect" and "decontaminate" as if they meant the same. A widely used US guideline on disinfection and sterilization from the Centers for Disease Control and Prevention (CDC) defines them separately, and it notes that "sterilization is intended to convey an absolute meaning" [3]. Pipetting guides add the terms that matter at the bench: autoclavable pipettes, sterile tips and filter tips [1][5].
| Term | What it means | What it does not mean |
|---|---|---|
| Cleaning | "The removal of visible soil", usually with water and detergents [3] | Not a microbial kill step; but "thorough cleaning is essential before high-level disinfection and sterilization" [3] |
| Decontamination | Removing pathogenic microorganisms "so they are safe to handle, use, or discard" [3]; pipetting guides also use it for chemical residues such as DNA, RNA, RNase or proteins [5] | Not proof that every trace is gone; the agent depends on the contaminant [5] |
| Disinfection | Eliminating "many or all pathogenic microorganisms, except bacterial spores, on inanimate objects" [3] | Not sterilization: "unlike sterilization, disinfection is not sporicidal" [3] |
| Sterilization | A process that "destroys or eliminates all forms of microbial life"; steam under pressure is one of the principal agents [3] | Does not establish continued sterility after unprotected handling or use |
| Autoclavable (pipette) | The pipette, or a stated part of it, tolerates autoclaving; check "whether the pipette is fully autoclavable – meaning it can be autoclaved as is, or whether it requires disassembly" [1] | Not a statement that the pipette is sterile or that samples will stay uncontaminated |
| Sterile or autoclaved tips | Tips sold sterile, or tips a lab autoclaves itself if "the manufacturer declares them as autoclavable" [5] | After an effective autoclaving process, tips may be "free from living organisms, but not necessarily from RNase and DNase" [5]; process effectiveness and protected handling must be established locally |
| Filter tips | Tips with a barrier that keeps aerosols from the sample away from the pipette shaft [4] | Not a substitute for changing tips or cleaning the pipette |
Two points follow from the table. First, a routine ethanol wipe or UV exposure must not be treated as a validated sterilization process; each is limited by its method and the surfaces reached, as discussed in Section 4. Second, "autoclavable" is a property of the instrument, whereas "sterile" is a property of an item at a given moment. A pipette that has been through a cycle and is then used on an open bench is a recently autoclaved tool, not a sterile one.
2. How Cross-Contamination Happens in Pipetting
Contamination in pipetting runs in three directions, as one pipetting handbook sets out [4]:
| Route | What happens | Main counter-measures described in literature |
|---|---|---|
| Pipette-to-sample | "The sample is contaminated by a contaminated pipette or pipette tip." [4] | Clean the pipette regularly; use a fresh tip [4] |
| Sample-to-pipette | "The pipette body is contaminated by the sample or aerosol particles." [4] | Smooth plunger action; filter tips; do not lay a pipette down with liquid in the tip [4][5] |
| Sample-to-sample | "The sample is contaminated by the previous sample due to residual carry over." [4] | Change tips after each sample; filter tips where aerosols matter [4][5] |
Sample-to-pipette contamination is one reason a pipette may need decontamination, but whether steam treatment is appropriate depends on which parts the manufacturer permits you to autoclave. One pipetting guide warns that aerosol formation during aspiration can contaminate the pipette and subsequent samples, even when tips are changed; filter tips can reduce this route of carry-over [5]. The same guide lists the usual triggers for decontaminating a pipette: "when more liquid than the tip volume allows is aspirated, when a pipette is placed on the bench with liquid inside its tip, or when unfiltered tips are used with RNA/DNA solutions" [5].
The stakes are highest in amplification work. As an early note on the subject put it, "the exquisite sensitivity of the polymerase chain reaction means DNA contamination can ruin an entire experiment" [6]. In PCR, aerosol carry-over in the pipette "could lead to false positive results, as even the smallest quantities of DNA from a previous sample could be amplified" [5].
Technique matters as much as hardware. One handbook notes that uncontrolled aspiration can cause bubbles, splashing and aerosols, and can contaminate the pipette shaft and piston [4]. A slow, even plunger movement and a steady immersion depth are covered step by step in the guide to using a micropipette with forward and reverse pipetting.
3. Tips and Filter Tips: The First Barrier
The tip is the part of the system designed to take the contamination risk. "All piston pipettes are fitted with some form of replaceable tip to minimise the risk of contamination," the UK National Physical Laboratory's good practice guide states, and the tips are "intended for single use only" [2]. The same guide calls it good practice to use tips recommended by the pipette manufacturer for the instrument in use [2]. This article makes no tip-fit or compatibility claim for any ACS Material pipette; check with ACS Material which tips fit your model.
Filter tips. A filter, or barrier, sits between the liquid and the pipette shaft. "Filters block aerosols from the liquid sample from contaminating the shaft, and subsequently contaminating later samples," one handbook explains [4]. The NPL guide describes filter tips as "valuable when radioactive or infectious materials are being used or where cross contamination from the air space cannot be tolerated" [2]. One manufacturer guide recommends filter tips for applications including "RNA/DNA solutions", "volatile, corrosive or viscous samples" and "strong acids or bases" [5]; select tips and pipetting technique according to the liquid, the instrument instructions and material compatibility, rather than assuming a filter alone controls every risk. A filter is not free of side effects: it "will invariably impede air movement to some extent, resulting in areas of slight, yet detectable, backpressure" [4].
Sterile versus autoclaved tips. Pre-sterilized tips are supplied as sterile consumables; laboratory-autoclaved tips are different because a successful sterilization process and protected handling must be established locally. Autoclave tips only when "the manufacturer declares them as autoclavable" [5]. The same guide cautions that "individual labs don't usually test the effectiveness of their autoclaving process, which can lead to contaminated samples" [5]. For tips, the measurement standard adds a performance angle: where tips are sterilisable, the procedures the manufacturer indicates "shall not negatively affect the metrological characteristics of the tips such as shape, seal and wettability" [7].
Keeping the shaft out of the liquid. If a standard tip cannot reach the bottom of a tube, it is tempting to push the shaft in after it. Extended-length tips exist to remove that risk for labware such as microcentrifuge tubes and deep-well blocks [5].
4. Cleaning, Decontamination and UV or Ethanol
Routine cleaning is the step that most often gets skipped. "Always consult the operating manual of your pipette before cleaning it," one guide advises; the outside can be wiped daily "with a lint-free cloth lightly soaked with 70 % ethanol", after checking the chemical compatibility of the pipette [5]. Another notes that daily wiping of the outside and the tip cone reduces the chance of cross-contamination [8]. Interior cleaning is a bigger job: "Most manufacturers recommend that multichannel pipettes should be disassembled and cleaned by trained personnel" [5].
Decontamination depends on what the pipette was exposed to. The table lists examples of agents discussed in two manufacturer handbooks, not a validated protocol for every pipette or contaminant. Follow the instrument manual and your laboratory's approved procedure, including dilution, contact time, rinsing, chemical safety and compatibility; one guide specifically says to "check the chemical compatibility of your pipette for the decontamination reagents before use" [5].
| Contaminant | Agents named in the literature | Note |
|---|---|---|
| Aqueous solutions | 70 % ethanol, then distilled water rinse and air dry [5] | — |
| Organic solvents | Detergent, then distilled water rinse [5] | — |
| Proteins | Detergent, or fresh 10 % bleach [4][5] | "Don't use alcohol, as it coagulates proteins." [5] |
| DNA / RNA | 10 % bleach solution, distilled water rinse, isopropyl alcohol wipe [4][5] | Rinse bleach off thoroughly [4] |
| RNase | One handbook describes sequential 95 % ethanol treatment, a water rinse, then a 3 % hydrogen peroxide soak for 10 minutes with a final rinse; another option is an RNase decontaminant used as directed [4][5] | Examples, not a product-specific validated procedure |
Decontamination is not risk-free for the instrument: "if done improperly, it can adversely affect the pipette's performance" [4]. After reassembly, one guide recommends lubricating the piston and checking the pipette "by performing a leak test and volume validation" [5]. Radioactive or infectious material needs your institution's own procedures.
UV and ethanol are surface treatments. UV light is often used on pipettes and in hoods, but its reach is limited. The CDC guideline notes that UV effectiveness "is influenced by organic matter; wavelength; type of suspension; temperature; type of microorganism; and UV intensity, which is affected by distance and dirty tubes", and that "bacteria and viruses are more easily killed by UV light than are bacterial spores" [9]. For DNA, a study of laboratory decontamination found that UV "is only effective in limited conditions since the extent of DNA modification by UV light decreases with the square of the distance between the UV light source and the irradiated agent", which restricts it to "surfaces that are close to the UV bulb" [10]. For the routine exterior treatments discussed here, neither UV exposure nor an ethanol wipe establishes sterilization of the pipette or decontamination of hidden internal surfaces.
5. How to Autoclave Pipette Parts: What the Cycle Does and Does Not Do
An autoclave sterilizes by steam. "There are four parameters of steam sterilization: steam, pressure, temperature, and time," and "the two common steam-sterilizing temperatures are 121°C (250°F) and 132°C (270°F)" [11]. Exposure time is not universal: "sterilization times vary depending on the type of item (e.g., metal versus rubber, plastic, items with lumens), whether the item is wrapped or unwrapped, and the sterilizer type" [11]. Steam has to reach the surfaces, because "air that is not removed from the chamber will interfere with steam contact" [11]. The CDC temperatures above describe steam sterilization generally; they are not cycle recommendations for any ACS Material pipette. This guide gives no pipette cycle time: follow the pipette manual, the autoclave instructions and the laboratory's validated programme.
The instrument limits what you can do. "Many pipettes are designed to be autoclavable although they may require partial dismantling first," the NPL guide notes, and "the manufacturer's instructions should be observed regarding the suitability of sterilisation media and the maximum temperatures and pressures which are permissible" [2]. A buyer's guide makes the same split: "check which parts are autoclavable (some pipettes are fully autoclavable, but others are not)", and parts "like electronics, might not tolerate autoclaving" [1]. Steam can also be hard on materials; the CDC guideline lists "corrosion and combustion of lubricants" among its effects on some items [11].
After the cycle, check that the pipette still measures correctly. "After disassembling a pipette it is always recommended to check the performance," and "after autoclaving on-site, a performance check can be sufficient" [1][8]. Part 1 of ISO 8655:2022 also has a product-information subclause headed "Decontamination and sterilisation" [12], which is another reason to start from the manufacturer's information.
What the cycle does not establish: removal of visible residues (clean first [3]), freedom from residual DNA or RNase activity for a sensitive assay [5][10], or continued sterility once the pipette is handled on an open bench. Autoclave the pipette when the manual allows it and the work calls for it, but keep tips, filters, cleaning and technique as the everyday controls.
6. What ACS Material Says About Autoclaving Its Pipettes
The ACS Material pipettes fall into three groups.
| Group | Series | Description |
|---|---|---|
| Whole pipette | MicroPette Plus | "Fully autoclavable: 121 °C, 1 ATM; no pre-treatment needed" |
| Whole pipette | Hipette | "Autoclaving (high-temperature, high-pressure) or UV disinfection"; "The entire pipette can be autoclaved and can also be disinfected with UV light." |
| Whole pipette | Mi-Pette | "Autoclaving (high-temperature, high-pressure) or UV sterilization" |
| Whole pipette | Mi-Pette-LTS | "Fully autoclavable" |
| Lower part only | QPette | "The lower section can be autoclaved" |
| Lower part only | Toppette | "The lower section can be autoclaved" |
| — | QPette+, Mini Pipette, Mini TopPette, dPette / dPette+, E-Pette | No autoclaving or sterilization is specified; ask ACS Material before autoclaving any part |
Notes on the table. Only the MicroPette Plus has a specified temperature and pressure. ACS Material uses "UV disinfection" for the Hipette and "UV sterilization" for the Mi-Pette. That term is not a verified sterilization claim: the sources in Section 4 describe important limits of routine UV treatment. Do not substitute a UV exposure for an autoclave cycle on that description alone. For QPette and Toppette, only the lower section is described as autoclavable; for the QPette, ACS Material adds that "the ejector collar and tip cone can be removed"; check the manual for which parts go into the chamber. ACS Material describes the HiPette-LTS "pipette material used" as "fully autoclavable", but no sterilization specification is listed, and the statement does not identify which assembled components may enter an autoclave. It is therefore not grouped in the table; confirm the permitted parts and procedure with ACS Material. None of these descriptions says that a pipette remains sterile in use after autoclaving or that autoclaving prevents contamination.
7. MicroPette Plus: Fully Autoclavable at 121 °C
If you want a pipette for which ACS Material states both that the whole instrument can be autoclaved and the conditions, the MicroPette Plus is, of the pipettes in Section 6, the one with both. ACS Material says: "It is fully autoclavable, being able to withstand temperatures of 121 °C and pressure of 1 ATM, and does not need to be pre-treated prior." It also gives aftercare: "Allow a 12 hour cooling and drying period, which ensures that the high performance of the MicroPette Plus is retained. It is recommended that the piston and rubber seals be greased after every 10 cycles of autoclaving."
| Specification | Description |
|---|---|
| Product type | "Fully Autoclavable Mechanical Pipette" |
| Sterilization | "Fully autoclavable: 121 °C, 1 ATM; no pre-treatment needed" |
| After autoclaving | "12 hour cooling and drying period; grease the piston and rubber seals after every 10 autoclave cycles" |
| Single-channel adjustable | "Twelve volume ranges, 0.1–10000 µL" |
| Fixed volume | "Twelve volumes, 5–5000 µL" |
| 8-channel | "Seven volume ranges, 0.5–1000 µL" |
| 12-channel | "Six volume ranges, 0.5–300 µL" |
| Tip cones | "Spring loaded tip cones for easy cleaning and maintenance." |
| Assembly | "Individual piston and tip cone assembly." |
"1 ATM" is not specified as gauge or absolute pressure, so do not convert it into a chamber setting. The 12 hour cooling and drying period must be completed before returning the pipette to use, rather than assuming it will be available immediately. These statements do not replace a validated autoclave programme; a performance check after autoclaving is also good practice [8].
8. Checklist: Autoclaving and Contamination Control
- Read the pipette's manual: whole pipette, lower part only, or not autoclavable; settings and any disassembly [2].
- Clean visible residue off before any disinfection or sterilization step [3].
- Match decontamination to the contaminant, and check chemical compatibility first [5].
- Do not treat a routine UV exposure or ethanol wipe as a validated sterilization process [9][10].
- Use a fresh tip for every sample; never clean and re-use tips [2].
- Consider filter tips where aerosol carry-over matters, including nucleic-acid work; check tip fit, material compatibility and the pipette manual for volatile or corrosive liquids [2][5].
- Autoclave tips yourself only if their manufacturer declares them autoclavable [5].
- Keep plunger action slow and smooth, and store pipettes upright "to avoid contamination from work surfaces" [1][4].
- After autoclaving or reassembly, allow any stated cooling and drying time, then run a performance check [5][8].
9. Frequently Asked Questions
Can you autoclave any pipette?
No. Some pipettes are designed to be autoclaved whole, some only in part, and some not at all; parts such as electronics may not tolerate it [1]. Check the manual before the pipette goes into the chamber.
Is an autoclaved pipette sterile?
Not automatically during later use. A validated cycle can sterilize compatible parts [3], but sterility cannot be assumed after unprotected handling or use on an open bench. Autoclaving also does not replace cleaning or contaminant-specific decontamination.
Do filter tips stop all cross-contamination?
No. Filters block aerosols from reaching the shaft [4], but tips still have to be changed after every sample, and the pipette still needs cleaning.
Is UV disinfection enough for a pipette?
UV is a surface treatment whose effect falls off with distance [10] and depends on organic matter and the type of microorganism [9]. It cannot be expected to reach the inside of the shaft.
Which ACS Material pipettes can be autoclaved whole?
ACS Material describes whole-pipette autoclaving for the MicroPette Plus, Hipette, Mi-Pette and Mi-Pette-LTS; for the QPette and Toppette it specifies the lower section only. The HiPette-LTS pipette material is described as fully autoclavable but does not establish which assembled parts can be processed; confirm with ACS Material.
10. Keep Exploring the Pipetting Hub
- Pipetting and liquid handling guide: pipettes, dispensers and controllers from microliters to milliliters.
- How to use a micropipette: forward vs reverse pipetting and the errors that matter.