
A laboratory hot press runs two programs at once. One moves the temperature: ramps, setpoints, holds and cooling. The other moves the force: a light contact load, the consolidation pressure, holds and the release. A method that gives only the peak temperature and pressure leaves out where one program sits relative to the other, and in the studies cited below that mattered: whether the load went on before the material softened or after, how long it stayed at temperature, and whether the pressure was still on while it cooled. This guide explains how to write a cycle as segments of both, what the published studies and standards show about each part, and what the PressPro™ controllers program. A planner draws your cycle to scale and checks it against a press.
In one paragraph: write the cycle as a list of segments with temperature, rate, time and pressure on each line. The setpoint is not the sample temperature: in published work, thick stacks and wet mats lagged the platens by tens of degrees or several minutes, so measure the lag in your own mold. When the load goes on matters: thermoplastic laminates were heated at contact pressure and consolidated once hot, a thermoset prepreg had a pressure window of about ten minutes tied to its viscosity, and a heated-die powder process reached a higher density with the pressure applied before heating. In one carbon/PEEK laminate study, cooling under load, at a slower rate, left fewer voids than cooling without it; rubber sheets come out hot by standard. Soak time is a variable: a thermoset needs it for cure, while in rubber and in melt processing longer times at temperature cost something. In one thick epoxy laminate, a slower heating rate avoided the exotherm runaway predicted at the manufacturer’s rate. Record the cycle as run, including where the controlling sensor was.
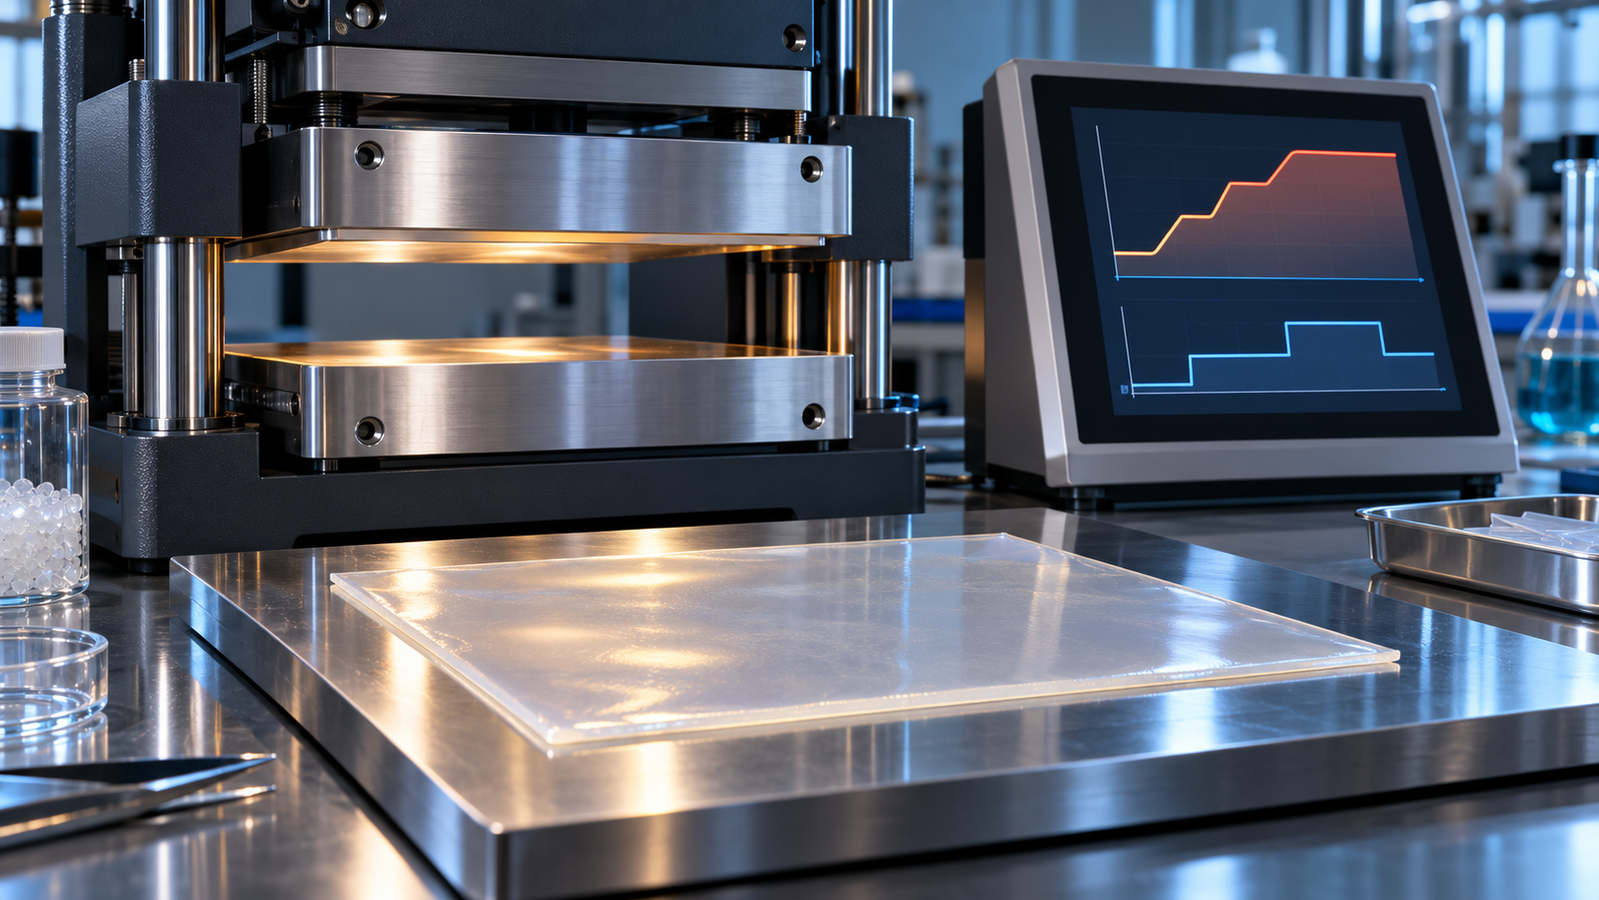
The hot pressing guide covers the choice of press, platen size and temperature class. The guide to hot-pressed film defects takes the defects one by one, and the vacuum guide covers the atmosphere. This page is about the cycle.
1. What the PressPro™ controllers program
Every heated PressPro™ press has a 7-inch touch-screen controller. The specifications print the following.
| Manual hot presses: heated die, dual platen, fixed upper platen | Automatic dual-platen and vacuum automatic hot presses | |
|---|---|---|
| Temperature program | 30 programmable segments: automatic heating, curve heating, rate heating, automatic holding and natural cooling; hold time unlimited, set per segment | |
| Pressure | Force generation is manual: pumped by the operator (slow pressurizing possible) and released by hand. The touch screen has a pressure display and calculates the pressure on the sample in real time. A pressure gauge is listed as optional on the heated-die and manual dual-platen presses | Automatic pressurizing, hold with pressure compensation and timed release; 5 pressure segments, freely settable and upgradeable to 30, with a control time per segment; real-time calculation of the pressure on the sample; automatic pressure relief when the system pressure exceeds a safe value, and an emergency stop |
| Lowest force | From zero | 0.3 or 0.5 t, by model |
| Cooling | Natural cooling as standard; air or water cooling is an option on the platen presses. Above 300 °C a water chiller is required on most platen models. The heated-die set lists a water chiller as optional and, above 300 °C, a water-cooled insulation plate as an option | |
| Temperature | Room temperature to 300 °C, or to 500 °C on the high-temperature versions; on the vacuum press 500 °C is built to order | |
As printed in the PressPro™ specifications. Not printed, and not covered here: the maximum heating and cooling rates, whether the program can hold a set cooling rate, the temperature spread across a platen, where the control sensor sits, and how the temperature and pressure programs of the automatic presses are linked on the controller. The hot pressing guide lists the cooling arrangement of each family and compares manual and automatic control.
On a manual press, every pressure step is an action by the operator, timed against the temperature program on the screen. Whichever press runs it, write the cycle down first.
2. The temperature program: setpoint is not sample
The controller holds its own sensor at the setpoint. The sample, behind a mold, plates and release film, follows later, and a thick or wet sample follows slowly.
- In a thick glass/PPS laminate built from film stacks with 16 thermocouples between the layers, the temperature across the thickness differed by about 50 °C during heating. Thin laminates of the same materials took about 30 s to heat through at contact pressure.1
- In laboratory particleboard mats of recycled wood particles pressed between platens at 180 °C, the core stayed near its starting temperature for about a minute, then held a plateau near 105 °C for about 200 s before climbing toward the platen temperature. Wetter mats held the plateau longer: about 400 s at 25 % moisture for the recycled particles, and for hinoki strands, whose plateau sat near 140 to 145 °C, about 800 s at 20 % against about 300 s at 10 %.2
- In a NASA study of a steel mold for small resin disks, the press ran from thermocouples in the platens. The authors write that the platen temperatures are typically higher than the profile temperature to offset losses, and that platen and tool temperatures can differ significantly. Cutting the tool height from 59.1 to 40.1 mm let the tool follow the applied profile; most of their numbers are model predictions.3
- In thick carbon prepreg cured under a vacuum bag (not in a press), the reported average temperature lag in reaching 225 °F grew from about 35 to 52 °F (about 19 to 29 K, our arithmetic) as the stack went from 10 to 40 plies.4
Where the sensor sits is part of the method. One heated-die study controlled the temperature from a thermocouple in the die wall;5 another measured it on the pellet itself.6 In spark plasma sintering, which heats by passing current through the die, the sample and the control point were found to differ by more than 100 °C. That is a different heating method, and this guide does not apply the figure to a heated die or platen.7 The rubber-sheet standard handles the problem directly: it holds the mold at the vulcanization temperature, within ±0.5 °C, for at least 20 minutes before the blanks go in, and checks the mold temperature with a thermocouple in contact with the mold.8
No study we found measured the lag of a thin polymer film or a powder pellet behind the setpoint of an electrically heated laboratory platen press. Measure it in your own setup: a thermocouple in a dummy sample, run through the program once, shows how long the hold has to be before the sample is actually at temperature.
3. When the pressure goes on
Thermoplastics
In the glass/PPS laminate study, the press was preheated to the processing temperature, the stack was held at 0.1 MPa for about 30 s until fully heated, and only then was the pressure raised to 0.4, 0.7 or 1.0 MPa at 300 to 330 °C for 0 to 5 minutes. All 27 laminates were impregnated. Microvoids decreased with pressure, while temperature and time had no visible effect, and strength showed no clear dependence on consolidation time; the reference laminate was pressed for 15 minutes, about the time used in practice.1 For ultra-high-molecular-weight polyethylene, the effect of pressure applied at the melt and during recrystallization has been studied separately.9
Thermosets
One thermoset study found a window for the pressure. In that government study of carbon-fiber prepreg cured in an autoclave, applying pressure could itself bring gelation forward, so resin flow could be stopped at a chosen time by applying pressure then, normally when the viscosity was low. For a good laminate the window for applying pressure was about 10 minutes, or about 14 minutes at a void content of about 0.75 %. Pressure applied too early let excess resin escape before gelation; too late, and the resin had already flowed out. A resin loss 5 % by weight above the ideal gave about 0.75 % voids by volume.10 In a dilatometer, an epoxy prepreg held under pressure at 80 °C for 10 minutes before cure lost between about 1 % and 6 % of its volume as voids closed, more at the higher pressure.11
Powders in a heated die
In an Army Research Laboratory study, silica with sodium hydroxide solution was densified in a heated 13 mm die at 250 °C for 4 h. Across the experimental design, applying the pressure before heating gave a mean relative density of 72 %, against 55 % when the die was heated first.5 In cold sintering of zinc oxide, the pressure was applied and held for 5 minutes before heating, during which some liquid could be squeezed out; a slower heating rate kept the transient liquid longer and gave more shrinkage below 65 °C.6 In spark plasma sintering of nano-alumina, applying the pressure at the start of the second sintering stage gave high density and fine grains at a lower temperature.12 We found no conventional hot-pressing study that compares early and late pressure on an oxide or a solid electrolyte with numbers.
Rubber
The rubber standard closes the press in the minimum time possible and keeps at least 3.5 MPa on the cavities. Its vulcanization time runs from the moment the pressure is fully applied to the moment it is released; the temperature and time come from the procedure for each compound.8 ASTM D3182 is a practice for mixing standard rubber compounds and preparing standard vulcanized sheets.13
4. Degassing and “bumping”
Two standards allow a step that lets trapped air or gas out. The rubber standard says that, if necessary, the press is opened and closed a few times to remove trapped air, and that time does not count as vulcanization time.8 The thermoset practice allows a short breathe step for trapped gas.14 We found no study that measures whether bumping reduces voids, and no standard text on it for thermoplastic films. Where it is used, record it as a segment. Vacuum holds and pressing under vacuum are covered in the vacuum guide.
5. Soak: how long at temperature
For a thermoset, the hold is a cure, and it can be designed from measurements rather than habit:
- A carbon-fiber epoxy prepreg was characterized by calorimetry and rheology. The viscosity rose sharply after about 950, 450 and 210 s at 120, 140 and 160 °C. In trials, dwell time mattered most to interlaminar shear strength, then cure temperature, then heating rate. The chosen press cycle heated at 10 °C/min to 140 °C, held for 20 minutes at 0.6 MPa, and cooled the mold below 60 °C at 2 °C/min before demolding. It cut the molding time by 71.2 % and the energy by 35.7 %, with an interlaminar shear strength 7.35 % below that of the manufacturer’s recommended cycle.15 The study used the Flynn/Wall/Ozawa method, which ASTM E698 standardizes for differential scanning calorimetry; the stated purpose of that standard is thermal-hazard assessment.16
- In the autoclave study cited earlier, a dwell at 135 instead of 125 °C shortened the time to gelation from about 90 to about 60 minutes.10
- In thick laminates, the heat of the cure itself can raise the temperature. For one epoxy system cured at the manufacturer’s initial heating rate of 2 °C/min, an analytical criterion predicted thermal runaway above 12.4 mm, as observed; a 20 mm laminate cured at 0.3 °C/min did not overheat, and its largest recorded temperature difference was below 1 °C.17 In the vacuum-bag cures, the exotherm overshoot grew from none at 10 plies to 18 °F (about 10 K) at 40 plies.4
For other materials, time at temperature costs something. A natural rubber and EPDM blend lost 1.3 to 5.8 % of its peak cure torque after the maximum at 140 to 170 °C, more at the higher temperatures; the authors state that natural rubber alone typically reverts by 30 to 35 %.18 In polymers processed in the melt, a review of PLA processing names temperature, time, shear and moisture as basic variables,19 and high-molecular-weight poly(ethylene oxide) kneaded with a lithium salt degraded by chain scission, the salt making it worse.20 How long a stabilized polyolefin resists oxidation at a fixed temperature is itself a standard measurement.21 We found no study that measures degradation against the hold time in a press. Keep the hold as long as the material needs at temperature, measured in the sample, and record it.
6. Cooling and release
The evidence on cooling under load comes from carbon/PEEK laminates and one embossing study:
- Carbon/PEEK blanks consolidated in a press at 386 °C and 10 bar were stored and then reheated to 390 °C for 20 minutes without pressure. After two months in room air they swelled by about 12 to 15 % in thickness; after storage in a vacuum oven, by less than 5 %; after drying for 3 h at 250 °C, by about 1.5 %. Absorbed moisture was the main cause.22
- Carbon/PEEK laminates consolidated at 385 °C for 60 minutes under 7 bar had 1.18 % voids when cooled in the press under pressure at 1.5 °C/min, and 3.23 % when cooled in the press without pressure at 2.5 °C/min.23
- PMMA hot-embossed at 150 °C was cooled under load to 85 °C over 900 s and released at about 20 °C below its glass transition; simulation placed most of the stress build-up in the first 100 s or so of cooling.24
Rubber is the opposite case. The rubber-sheet standard takes the sheets out at temperature and cools them for 10 to 15 minutes in water or on a metal surface.8 For thermoplastic test specimens, ISO 293 leaves the cooling method to each material’s own standard.25 ASTM D4703 is a separate practice for plaques and sheets; ASTM notes that it is no longer equivalent to ISO 293:2023.26 How the cooling rate sets crystallinity and clarity in films is covered in the guide to hot-pressed film defects.
The cooling rate a PressPro™ press achieves with natural cooling, or with the air or water option, is not printed, and whether the program can hold a set cooling rate is not covered here. If the rate matters, measure it in the sample and record it with the cycle.
7. Four published cycles, written as segments
Written this way, a cycle can be compared and repeated. These are the cycles as their sources report them, not recommendations.
| Material | Temperature segments | Pressure segments | Release |
|---|---|---|---|
| Glass/PPS laminate from film stacks1 | Platens preheated to 300, 315 or 330 °C; stack inserted into the hot press; cooled at 10 °C/min; at most 4 min above the melt | 0.1 MPa for about 30 s while heating through; then 0.4, 0.7 or 1.0 MPa for 0 to 5 min | Not stated |
| Carbon-fiber epoxy prepreg15 | 10 °C/min to 140 °C; hold 20 min; cool at 2 °C/min | 0.6 MPa during the hold; when it was applied is not stated | Demolded below 60 °C; pressure during cooling not stated |
| Rubber test sheets8 | Mold held at the vulcanization temperature, ±0.5 °C, at least 20 min before loading | Close fast; open and close to vent air if needed; at least 3.5 MPa for the vulcanization time | Hot; cooled 10–15 min in water or on metal |
| Zinc oxide, cold sintered in a heated die5 | After full pressure, about 20 min to 225 °C; hold at least 1 h | 350 or 500 MPa, applied before heating | Not stated |
Our summary of the cited cycles. The rubber standard leaves the temperature and time to the procedure for each compound. For the epoxy, the temperature is converted from 413 K and the rates from K/min.
8. Battery films and electrodes
In the battery studies cited here, hot-pressing schedules are reported as single steps, without the cooling: PEO films with sodium salts pressed at 100 °C and 50 kN (about 5.1 t) between steel plates;27 PVdF-CTFE separators pressed for 10 minutes at 20 to 120 °C and up to 4 kbar (400 MPa);28 a sulfide glass electrolyte hot-pressed at its glass transition, 200 °C, for 4 h;29 sulfide composite cathodes at 200 °C and 370 MPa for 10 minutes.30 Electrode and separator stacks laminated between heated rollers at 80 and 120 °C took up electrolyte faster by weight than unlaminated stacks, while at 80 °C the wetting time measured by impedance was about the same (about 9.7 against about 10 minutes).31 Solvent-free NMC electrodes bound with PTFE were hot-calendered at 80 °C in one study, which cites electrodes calendered at 50 and 160 °C and sulfide separators rolled at 20 to 120 °C.32 None of these reports a full schedule with cooling under pressure and the release temperature; for air-sensitive materials, the vacuum guide covers the atmosphere, and the electrolyte pellet guide the pellets.
9. Hot-press cycle planner
Choose a PressPro™ hot press and the model, and enter the loaded area (the die bore, or the footprint of the sample or frame mold on the platens), the starting temperature and the room temperature. Then write the cycle as up to ten segments. Each segment has a target temperature, a ramp rate (leave it empty for a hold at the current temperature), a hold time and the pressure on the sample during the segment (zero for no load); a segment with no ramp and no hold is an instantaneous step, marked on the plot. The planner draws temperature and pressure to scale on one time axis and checks the cycle: the highest temperature against the upper limit of the temperature version, each set-point against the room temperature you enter (the heating range starts at room temperature), the number of heating and hold segments against the 30-segment program, the number of pressure steps against what the press programs, every force against the force range and the printed lower limit, and the cooling requirement above 300 °C. It gives the release point as the end of the last segment that carries a load. On a manual press the pressure steps are listed as actions for the operator. Not checked, and not covered here: the heating and cooling rates, whether the program can hold a set cooling rate, the pressure a heated die can take at temperature, how an automatic press lowers the load between its freely settable segments, and whether one program can release and re-apply the load, and whether the controller reaches and holds each set-point. The example numbers only show the format. A planning draft sums up the requested cycle in the future tense, with every failed check and what was not evaluated; it is a plan, not a record of a run.
10. What to record
- Every segment: target temperature, rate or hold time, and the pressure or force with the loaded area.
- Where the temperature was measured: the controller’s sensor, and the sample or mold if you measured it, with the lag you found.
- When the pressure went on and came off, against the temperature, including any venting or bumping.
- Cooling: under load or not, the method (natural, air, water) and the rate in the sample if measured, the release temperature, and when the sample came out.
- Release films, plates and atmosphere, and how the material was dried before pressing.
The cycle guide for pellet presses shows the same approach for presses without heat.
11. Related guides and equipment
- Laboratory Hot Pressing Guide — equipment, variables and limits.
- Hot-Pressed Film Defects — sticking, wrinkles, bubbles and their causes.
- Heated Dies vs Heated Platens — which route for which sample.
- Vacuum vs Ambient Hot Pressing — air, moisture and trapped gas.
- How to Specify a Pellet-Press Cycle — load, hold and release in numbers.
- How to Choose a Laboratory Hydraulic Press — the whole PressPro™ range by purpose.
- Equipment: manual heated-die press, manual dual-platen hot press, hot press with fixed upper platen, automatic dual-platen hot press, vacuum automatic hot press.
12. FAQ
Should I apply the pressure before or after heating?
It depends on the material, and the studies differ. Thermoplastic laminates were heated at a light contact pressure and consolidated once hot; a thermoset prepreg needed its pressure within a window of about ten minutes tied to its viscosity; a powder densified in a heated die reached a higher density with the pressure applied first. Test both orders on your material and record the one you use.
Why is my sample cooler than the setpoint?
The controller holds its own sensor at the setpoint, and heat has to pass through the mold, plates and release films into the sample. Thick or wet samples lag most: tens of degrees across a thick laminate, and minutes in a wet mat. Measure the lag once with a thermocouple in a dummy sample.
How long should I hold at temperature?
Long enough for the sample, not the platen, to reach temperature, plus the time the material needs: a cure for a thermoset, consolidation for a thermoplastic. Longer holds cost something in materials that degrade or revert. Calorimetry and rheology can set a thermoset cure from measurements.
When should the load come off?
The evidence cited here comes from composites and one embossing study. Carbon/PEEK laminates cooled in the press under pressure had 1.18 % voids, against 3.23 % when the pressure was removed for cooling, at a different cooling rate. Consolidated carbon/PEEK blanks swelled when reheated without pressure, and embossed PMMA was cooled under load to about 20 °C below its glass transition. We found no study that varied the release temperature of a neat thermoplastic sheet; the guide to hot-pressed film defects covers what pressure and cooling rate during cooling do to films. Rubber sheets are the exception: the standard takes them out hot. Record the release temperature with the cycle.
Can a manual hot press run a pressure program?
No. On the manual PressPro™ hot presses the temperature runs from a 30-segment program, and force generation is manual: the operator pumps and releases the pressure by hand. The touch screen has a pressure display and calculates the pressure on the sample. The automatic dual-platen and vacuum presses program the pressure in 5 segments, upgradeable to 30.
What is bumping?
Opening and closing the press, or releasing and re-applying the load, to let trapped air out. The rubber standard allows it, and a thermoset practice allows a short breathe step. We found no study measuring its effect.