
An X-ray fluorescence spectrometer is one of the most repeatable instruments in an analytical laboratory. Measure the same pellet ten times and the numbers barely move. Press ten pellets from the same jar of powder and measure each once, and they often do move, because the instrument only sees the top fraction of a millimeter of whatever it is given. Grain size, packing, surface finish and binder are all part of the measurement. Pressed-pellet preparation is the craft of making that thin surface layer flat, dense and the same every time. This guide covers the steps, the choices of backing and die, the force, and how pressed pellets compare with fused beads.
In one paragraph: grind the sample fine and grind every sample the same way; add binder only if the powder will not hold together, and then always in the same proportion; press in a 32 or 40 mm die with a backing or cup; use the same force and hold time for standards and unknowns; release slowly. A 30 to 40 tonne press covers the common die sizes, giving about 230 to 310 MPa on a 40 mm pellet. Pressed pellets are fast, keep trace and volatile elements, and need matrix-matched standards; fused beads remove grain-size and mineralogical effects at the cost of dilution, time and equipment. Consistency of preparation matters more than any single setting.
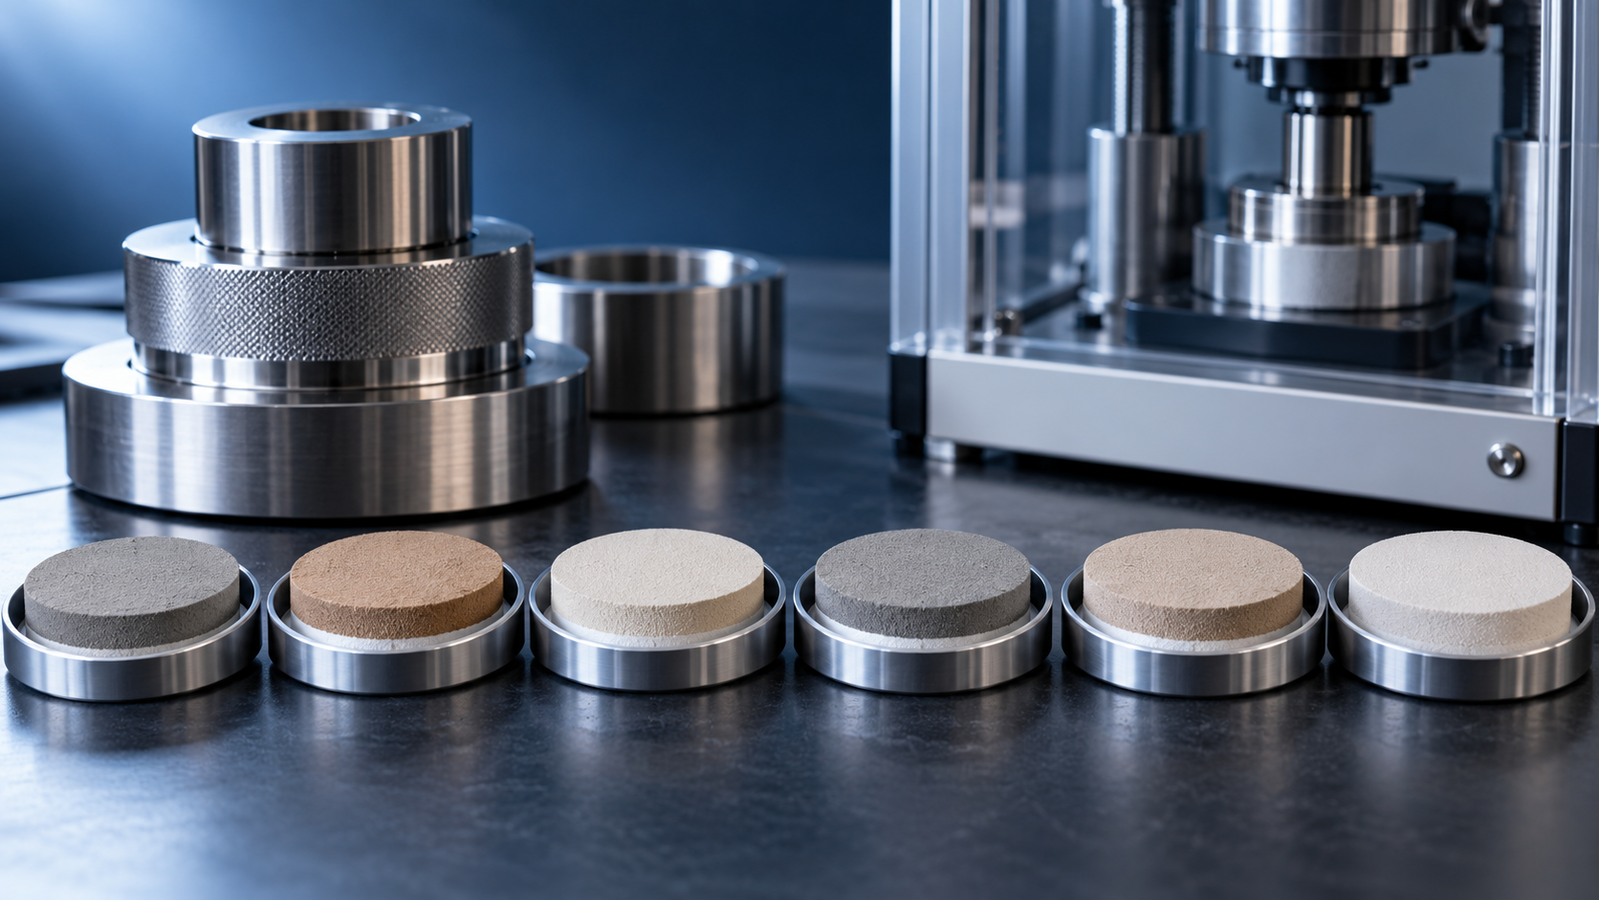
1. Why preparation decides the result
Fluorescent X-rays are absorbed on their way out of the sample, so the signal for each element comes from a limited depth below the surface. For light elements that depth is a few micrometers; for heavier elements it can reach hundreds of micrometers or more, depending on the matrix. Solid-sample preparation for XRF is designed around this analytical depth.1,2 Three consequences shape everything that follows.
- The surface is the sample. If the top layer is not representative of the bulk, the result is wrong however good the instrument. Coarse grains, segregation during filling, and binder smeared across the face all show up in the numbers.
- Voids and roughness cost intensity. A loose powder has air between its grains and an irregular surface, both of which change from one filling to the next. Pressing closes the voids and flattens the face.
- The pellet must be thick enough. For the most energetic line being measured, the pellet has to be thicker than the depth the signal comes from, or the intensity will depend on how much material was weighed in.1
Reference texts on practical XRF devote whole chapters to specimen preparation,3,4 which is why a method fixes the preparation as tightly as the measurement.
2. Making a pressed pellet, step by step
1. Dry and grind
Dry the sample if it holds moisture, then grind it to a fine, uniform powder. Finer is better up to the point where the mill starts to contaminate the sample, and uniformity matters most of all: grind every standard and every unknown in the same mill, with the same charge, for the same time. Grain-size and mineralogical effects are strongest for light elements, whose signal comes from a depth comparable to the grains themselves.2
2. Add binder if needed
Some powders, such as clays, cements and many soils, bind themselves. Hard, crystalline powders such as quartz-rich rocks, slags and oxides do not, and crumble on ejection unless a binder is added. Cellulose and wax binders are the common choices; they are made of light elements that add almost nothing to the spectrum. The binder dilutes the sample, so the proportion must be weighed and held constant. One study on a rock reference material compared binder-to-sample ratios and mixing methods to find the preparation that gave the best results for major elements,5 which is the kind of optimization each laboratory repeats for its own materials. Mix thoroughly; unmixed binder leaves soft, light-colored patches on the pellet face.
3. Choose the support
A bare pellet of pressed powder is fragile at the edges. Four kinds of support are in general use, and PressPro™ XRF dies are made for each.
| Support | How it works | Choose it when |
|---|---|---|
| Boric acid backing | The sample is pressed into a base and rim of boric acid powder, which forms a hard shell around it | Sample is limited; pellets must be robust and stored; routine geological and cement work |
| Steel ring | The powder is pressed inside a steel ring that stays on the pellet | Automated loading and high throughput; rings are cleaned and reused |
| Plastic ring | As the steel ring, in a disposable polymer | Cross-contamination must be ruled out; pellets are archived |
| Aluminum cup | The powder is pressed into a thin aluminum cup that supports the back and edge | Fast preparation of self-binding powders; plenty of sample |
4. Load the die
Fill evenly and level the powder before pressing. With boric acid, a sample splitter places the sample in the center and the boric acid around and behind it. The face that will be measured is the one formed against the polished anvil; keep that anvil clean and unscratched, because its surface is copied onto every pellet.
5. Press, hold, release
Raise the load steadily, hold it, and release it gradually. The hold lets air escape and the compact settle. Releasing gradually, and the same way each time, is common bench practice. The systematic work on capping, where a cap lifts off the face, and lamination, where the pellet splits into layers, was done on pharmaceutical tablets; there, the way the tablet was unloaded changed whether these defects appeared.6 Whatever force and hold time the method uses, use exactly the same for every pellet. On an automatic press the cycle is programmed and identical; on a manual press, time it.
6. Eject, label, store
Push the pellet out gently, or on the automatic XRF press use the one-key demolding cycle. Do not touch the analytical face. Label the back or the cup, and keep pellets in a desiccator: many powders take up water, and a pellet that swells loses its flat face.
3. How much force
The pressure on the pellet is the force divided by the die area, and XRF dies are large, so they need more tonnage than a KBr die for less pressure.
| Force | On a 32 mm die | On a 40 mm die |
|---|---|---|
| 10 t | 122 MPa | 78 MPa |
| 20 t | 244 MPa | 156 MPa |
| 30 t | 366 MPa | 234 MPa |
| 40 t | 487 MPa | 312 MPa |
| 60 t | 731 MPa | 468 MPa |
Pressure = force (t) × 9800 ÷ die area (mm²). PressPro™ steel dies are intended for use below 800 MPa.
The force has to be high enough that the surface is fully compacted and the pellet is strong enough to handle; pressing harder than that is not automatically better, and whether it helps depends on the material and the method. What the analysis needs is the same pressure every time. Density inside a pressed compact is not perfectly uniform, because friction at the die wall takes part of the load,7 but an XRF pellet is thin compared with its diameter, and the measured face is the one formed directly against the anvil. The calculator below gives the nominal pressure, the mass dilution from the binder and an estimated pellet thickness for your quantities. The dilution figure is a ratio of masses; how intensities are corrected for it belongs to the calibration.
4. Pressed pellets or fused beads
The alternative to pressing is fusion: the sample is dissolved in a molten borate flux and cast as a glass bead. The two routes solve different problems.
| Pressed pellet | Fused bead | |
|---|---|---|
| Grain-size and mineralogical effects | Remain; controlled by consistent grinding and matched standards | Removed; the sample becomes a homogeneous glass |
| Dilution | None, or slight from the binder | Substantial, from the flux |
| Trace elements | Favored: no dilution | Weakened by dilution |
| Volatile elements | Retained | May be lost at fusion temperature |
| Calibration | Standards of similar matrix and grain size | Synthetic standards can be made from pure oxides |
| Time and equipment | Minutes; a mill, a press and a die | Longer; a fusion furnace, flux and platinum ware |
Fusion is the usual choice for accurate major-element analysis of geological and ceramic materials, and it can be scaled down to milligram samples: glass beads made from 11 mg of sample have been used to analyze archaeological ceramics.8 Pressed pellets are the usual choice for trace elements, for volatile elements, for process control where speed matters, and wherever a well-characterized set of similar standards exists. Many laboratories run both. The decision belongs to the analytical method, and it comes before the choice of press: a press does not make fused beads. The evidence behind each row is set out in XRF Pressed Pellets vs Fused Beads.
5. Choosing the press
| PressPro™ model | Force | Operation | Die supplied | Suited to |
|---|---|---|---|---|
| XRF press, EPFM30TX / EPFM40TX | 30, 40 T | Hand pump and release; pointer gauge with tonne and MPa scales, digital gauge optional | One XRF die of your choice: boric acid, steel ring, plastic ring or aluminum cup | A few pellets a day; a press that also takes other dies |
| XRF press, EPFA30TX / EPFA40TX | 30, 40 T | Automatic pressurize, hold, compensate and release; 7-inch touch screen; sample pressure shown in MPa | One XRF die of your choice | Repeatable cycles with a choice of die types |
| Automatic XRF press, EPFAX30T / 40T / 60T | 30, 40, 60 T | Programmed cycle, 5 segments (30 optional); one-key demolding; swing-away top plate | Ø40–32 mm boric-acid die and sample splitter built in; steel-ring, cup and plastic-ring dies optional | Routine XRF laboratories pressing many pellets a day |
On the manual models, 1 MPa on the gauge is 0.95 t on the 30 T frame and 1.33 t on the 40 T frame, so 20 t is a reading of 21 MPa on the first and 15 MPa on the second. The automatic models show force to 0.1 t and calculate the pressure on the pellet from the die size, store the program, and add a safety-glass door, a piston limit switch, overpressure release and an emergency stop. The dedicated automatic press is built around the XRF workflow: the die is part of the machine, the top plate swings aside for loading, and one key ejects the pellet.
A general 30 or 40 T powder press with an XRF die does the same job at lower throughput; see the press selection guide for the whole range and the die selection guide for the dies.
6. Keeping pellets consistent
- One grinding recipe. Same mill, same vessel, same mass, same time, for standards and unknowns.
- Weigh everything. Sample and binder to a fixed total mass, so that thickness and dilution do not vary.
- One pressing recipe. Same die, same force, same hold, same release.
- Clean between samples. Brush or wipe the die, anvil and mill; press a blank of binder or quartz after a high-concentration sample.
- Check with replicates. Press several pellets from one powder and measure each, in a mixed order. The spread between pellets, compared with the spread from re-measuring one pellet, shows how much scatter the pellets add beyond the measurement itself, though not which step adds it. XRF Pellet Defects and Repeatability has a calculator that splits the two.
- Look at the face. Cracks, patches, a dull ring at the edge or a mirror-like center all mean something changed in grinding, mixing or pressing.
7. Related guides and equipment
- How to Choose a Laboratory Hydraulic Press — pellet, hot and isostatic routes and the full PressPro™ range.
- Pellet Press Die Selection — XRF dies and how to check a die against a press.
- Tonnage-to-MPa Calculator — force, gauge reading and pressure on the pellet.
- Powder Compaction Guide — why pellets cap and laminate, and how to track down the cause.
- KBr Pellet Preparation for FTIR — the other analytical pellet.
- Manual vs Automatic XRF Pellet Presses — gauge resolution, hold time and repeatability when the pellet feeds a calibration.
- PressPro™ XRF press and automatic XRF press.
- XRF Pellet Defects and Repeatability — visible and hidden pellet defects, and how to split the scatter into preparation and measurement.
- XRF Pressed Pellets vs Fused Beads — what fusion removes and loses, what dilution costs, and how laboratories divide the work.
8. FAQ
How much pressure is needed for an XRF pellet?
Enough to give a fully compacted, stable surface, applied identically every time. A 30 T press gives about 234 MPa on a 40 mm die and 366 MPa on a 32 mm die; a 40 T press gives 312 and 487 MPa.
What size should an XRF pellet be?
32 mm and 40 mm are the common diameters. The right one is the size your spectrometer's sample cups accept.
Do I always need a binder?
No. If the powder forms a strong pellet without one, leave it out and avoid the dilution. Add binder when pellets crumble or shed dust, and then keep the proportion fixed.
What is boric acid used for in XRF pellets?
As a backing and rim. It is pressed around and behind the sample to form a hard shell, so that a small amount of sample makes a full-size, robust pellet. It is made of light elements and contributes very little to the spectrum.
Are pressed pellets less accurate than fused beads?
For major elements in materials with variable mineralogy, fusion usually gives better accuracy because it removes grain-size and mineralogical effects. For trace and volatile elements, and with well-matched standards, pressed pellets are often the better choice.
Why do my pellets crack or lose their surface?
Possible causes are trapped air, an abrupt release, too little binder, or a powder that was not ground finely enough. Check them one at a time: hold the load a little longer, release more gradually, and check the grinding and the binder.
Manual or automatic press?
Manual is adequate for a few pellets a day if the operator times the hold and release. For routine work an automatic press removes the operator from the cycle, which is the largest source of pellet-to-pellet variation that a press can remove.
Can I use the same press for XRF and FTIR pellets?
Yes, with the appropriate dies, but a 30 or 40 T frame is coarse at the 8 t a 13 mm KBr pellet needs. Laboratories that make both regularly tend to keep a small infrared press as well.